Thursday 28 April 2011

THE MANS CARD THAT GREW

Hi all Kat here AKA Kat's craft creations
for my final guest design spot
for the month of April,
here on the the artistic stamper creative team blog

Thank you to Hel's & Jennie for inviting me
I have had a blast.

here's my project,

As you can see I have made a whole brief case of stationery,
which started out as a man's card & grew,
inspired by the man off Man's plate 001

For the Stationary,
I have pretty much used the same things throughout,
Man stamp Men's plate 001
Tim Holtz enjoy the journey stamp 
Distress inks antique linen, brushed corduroy & vintage photo
background stamps smudge, ink blot & speckle,
archival ink coffee,

I used 6 card blanks, 6, A5 sheets of paper, 12 envelopes
& 6 tags, from my stash,
along with  brown ribbon, Fleur De lease brads,
& old map papers, some clear embossing powder,
post it notes, scrap of card & a paint brush


instead of listing all that over & over
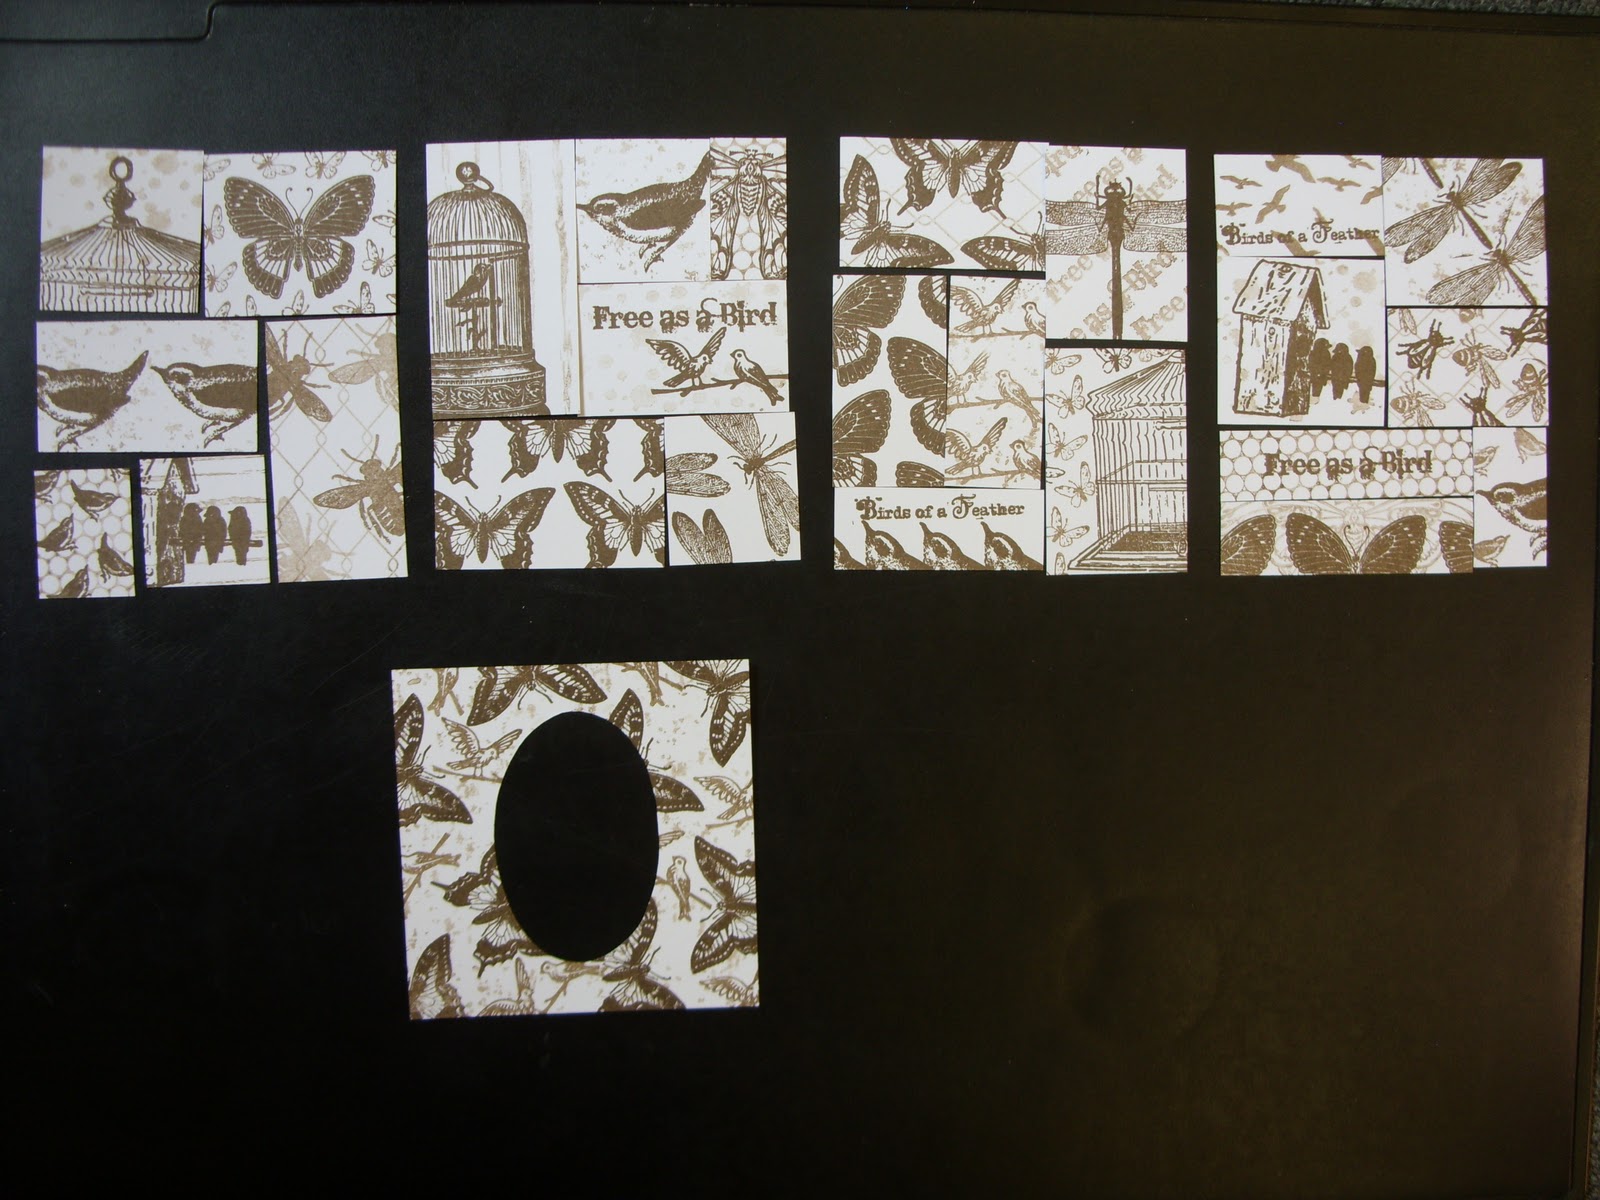
I took pictures of the items & what I used,
other wise we would be here all day
reading a very long post,LOL

The cards,


The notelets,


The envelope fronts,


& backs
(silly me forgot to clean the craft mat each time so I had to
decorate the back LOL)


& last but not not least the tags,


as you can see from the photos,
is all pretty much self explanatory.

Now on to the case,
I had some large card given to which came in very handy,
so I made the case in the style of one of those cardboard folders,


before I stuck it together I painted it with
raw umber acrylic paint & some cut & dry foam,
& I also made a little shelf inside for the stationary to sit on,
so when you open it it's all in view & not just laying in the bottom.
I then added strips of grey board painted with black acrylic paint for the straps,
& the handle was made in the same way,


I added a couple of brads & clasps
& some faux stitching with a gold pen,
& there you have it!


I added some bands of brown pearlised paper
around each pack,


then popped them in.


well that's about it I think,
Hope you like it!


Thanks for having me,
It's been so much fun,
& you never know I may just pop up here
again from time to time,
(If  Hel's or Jennie ask me)LOL
Have a great day,
Kat x.


Wednesday 27 April 2011

Flying the Flags! by Nicky Cresswell

Hay peeps, Minxy in da house. 
So I hope everyone had a nice long weekend and enjoyed the lovely weather we've been having, Don't worry, it will soon be friday and everyone will have an extra day off for the royal wedding!
People from far and wide will be lining the streets of london to wish the new couple well, and the trees and lamp posts will be lined with lots of flags & bunting! 
And speaking of bunting I made some of my own.
{did you see what I did there, I wasn't just randomly waffling} 
All the flags are made out of canvas and coloured with distress inks, The tops were diecut using Tims on the edge scallops die, I made a template for the scalloped circle and then hand cut them also from canvas.
I coated the chipboard letters with mica paints
***
Flag no.1
 I used punk plaid background, calligraphic text and the lady from the seaside no.1 plate.
***
Flag No.2 
 I used calligraphic mat 1, baroque background and the little boy from the childhood dreams plate. 
***
Flag No.3
 I used sequin waste open, calligraphic mat 12 and the lady from the dressmaking no.1 plate.
***
Flag No.4
 I used calligraphic mat 15, harlequin and the singing guys from the mens plate.
***
Flag No.5
 I used cogs background, calligraphic mat 4 and the little girl with bike from the our little ones elements plate.
***
And here they are all together!
Stay Inky

Tuesday 26 April 2011

Crowning Glory... By Hels Sheridan

Goodly Morning! When I was demo-ing at Ally Pally earlier this month I was faffing with the new Distress Stains, seeing how many different ways I could use them and I made this tag. I used Broken China and Wild Honey Distress Stains, smooshing them onto a craft sheet and then spritzing with water, dipping the tag into the inkyness and then drying and dipping again until I had the look I liked.


Next I used Wild Honey Stains, dabbing directly onto a script stamp, this gives a really fab "watercolour technique" look but as there's no water to dilute the ink, the stamping is really vivid. I used black Archival ink to stamp the crowns, from Crowning Glory, in a line down the side of the tag and then I dried the stamping and applied a thin layer of beeswax over the top of the tag, sealing all the ink in.


I made a little paper rose using Crowded Attic paper and the medium size Flower Power flower... dipping each layer of the rose into melted Beeswax - a nice twist on Faux Porcelain flowers. The messgae mat was created in the same way as the tag base and I used one of the new Travel sentiment stamps , again stamping with black Archival ink. Finally, I used the Broken China and Wild Honey Stains and coloured some trim for the ribbon at the top of the tag. Quick and simples and an effective background just using two of the new Stains. Thanks for looking... TTFN!

Hels x

Sunday 24 April 2011

Butterfly Moments by Alison Hall

Hello Stampers! A Happy Easter to you all!

Now, I could have made a pretty Easter basket to share with you, but that's not really me! So, instead I got my paints out & framed a lovely Spring butterfly.


I started off by giving a little square collage frame a base-coat of gesso. Then I spread some Viva Terra around the edges, & stamped into it with a couple of The Artistic Stamper background stamps...a script & the large chicken wire. Remember to wet your stamps before stamping into terra, & clean them immediately after. Leave this to dry naturally, or use a heat gun to speed things up.

When the frame was dry, I painted it all over with purple Viva precious metal paint, dried this, then dabbed on highlights of green & blue precious metal paint. This paint has a wonderful shimmer to it!


Next, I took a square mini canvas & used matt medium to adhere some tissue to it. Make sure there are a few nice creases in the tissue! I spritzed with blue Crafty Notions spray, then dabbed a bit of green & purple Viva precious metal paint around the edges. I used black archival ink to stamp a script background, then glued the canvas inside the frame.

Then, I took a 2" square of mountboard, & triple embossed it with blue Crafty Notions Jewel enamels. I sprinkled on a little green UTEE, melted it, then stamped into it with a butterfly from the Insects & Butterflies plate. I dabbed some purple paint around the edges, then glued it to the mini canvas in the frame.


I inked some metal corners with purple twilight alcohol ink, then attached these to the corners of the frame.

Next, I inked the back of a journalling ticket with distress inks, stamped the chicken wire background with denim distress ink, then the butterfly phrase with black archival ink. I cut off the top & bottom of the ticket, dabbed the edges with purple paint, & finally attached this to the bottom of the frame with purple flower brads, charm clips & jump rings. I added some chain at the top to hang my frame with.

Phew! Thanks for looking!
Alison xx

Saturday 23 April 2011

April Flowers...

or should that be April showers? I hope not , as I am loving the warm weather we are having this month here in the UK! I decided that this blog post I would join in with The Artistic Stamper challenge, which is layering. Is there any project or card that you make without layering? Not often...
Here I have taken the Umbrella Man, cut out of the new Kraft Resist paper, and lightly distress inked it.  I filled his brolly with flowers,( from my own stash) which have been coloured with Wild Honey Distress Stain. Add a crown from the new charms ( steampunk...be still my beating heart!!!), and layer him onto a tag cut out from the new Crowded Attic paper stash. Believe it or not that gorgeous colour is the back of one of the sheets...turn them over they are gorgeous muted colours! I lightly stamped one of the calligraphy mats with wild honey distress ink. Add a word or two from the girl's paperie sticker pad, and some vintage distress stained ribbon.
The Kraft Resist Tag envelope has been distress stained, and run through the new Texture Fades Stitches embossing folders...(oh am I in lurve with these!)


Now , for those of you who like to shop...we have an offer in the shop this weekend... all orders will get a free stamp, and 10% off! All you need is the code easterbunny , and pop it into the discount code box....
Have a very Happy and Creative Easter!
Jennie

Thursday 21 April 2011

Old Fashioned Grace by Sioux Jenneys

Hi! I'm here sharing a card today.....looking forward to a few days off for Easter...hope you have some nice things planned :)

I set myself a task to make something that looked old fashioned as a birthday card for my elderly Aunt....she will be 99 next week, still making things and crafting....Amazing!!


1. Ink up the hydrangea image from the Botanical Plate 1 in a mixture of Distress Inks

...I used small pieces of cut and dry foam to apply frayed jeans and Victorian velvet for the flower head and scattered straw and shabby shutters for the stem.

...then spritz plain water onto the inky stamp so that the ink starts to pool and stamp onto watercolour paper.

...it needs to be an absorbent surface like watercolour paper or you don't get the soft diffusion of the colours.

2. Over stamp the word "Grace" from the Dance Plate in Archival coffee.

3. Cut the image using an oval nestability and at the same time cut a mat one size
bigger.

4. Run vintage photo distress ink around the edge of the flower oval and age the edges with antique linen. Tatter the mat layer and run vintage photo around the edges and age with vintage photo also. Assemble the oval layers and add three luscious Prima Pearls :)

5. Make a loop of ribbon and stick to the back, make a separate little bow and attach with silicone glue and use the spare bits you cut off the tails on the bow to attach at the bottom.
....waste not want not! ;)

6. Ink up the corner flourish from the Stampers Anonymous Artful Artifacts plate in Distress Ink vintage photo and stamp each corner.....age the edges with some antique linen and a touch of Victorian velvet.

7. Attach the oval topper to the card.


Wishing you a very Happy Easter......See you again soon!
xoxo Sioux

Whoops......nearly forgot to do the draw for the tag giveaway from my last post!
Thank you all for your wonderful thoughts on my first stamp designs you make me very happy :)

Mr Random decided 22 was the lucky winner of my tag and that means

Mariannes Kort og Stempling

gets to have it in her collection ;)


Congratulations!
If you can e-mail me your address you can find the link here.....I will get it in the post to you as soon as the Easter holiday is over :)
TTFN Sioux

Sunday 17 April 2011

Bright Idea! by Nicky Cresswell

Hello to all you creative peeps out there, I'm back again, this time with a little wall hanging.
It's made from cardboard, I like to do my bit with the old recycling you know!
I started by cutting a square of card from an old box and ripping the top layer off in places, I then gave it a coat or 2 of paint.
I cut a section from the top of the card and glued old christmas lights that i'd coloured with permanent markers in top and bottom.
I stamped the cog inspiration light bulb onto some mica in brown stazon ink first, I then used the clear bulb and over stamped in black stazon to define the shape.
I used the mini scrabble tiles from the Scrabble and Tags plate to write bright & to make them pop I added a bit of colour using a yellow permanent marker and then glossy accented over the top.
***
To fill behind the fairy lights I stamped the cogs background onto parchment in brown ink, and then dry embossed around the cogs making the parchment turn white.
I randomly stamped the small cogs cluster all over the piece in vintage photo distress ink and heat embossed with distress embossing powder.
***
 As I had already used stamped mini scrabble tiles I thought it would be cool to incorporate actual old scrabble tiles into the piece, I sunk them into the cardboard by gently slicing all the way round each one then just pushed them in place, that way they didn't go all the way through the card.
 The piece was looking distinctly flat so to 'build it up' in keeping with this months challenge I cut out a bunch of cogs using my Vagabond and the gadget gears die {again using up more recycled cardboard}.
I distress embossed them all and then layered them using foam tape, and finished the middles by gluing old screws and bolts that I coloured again with permanent markers, I also coloured a little on the cogs to make it look like oil and grease.
***
Well thats your lot from me today, I hope you enjoyed my project and it inspires you to dig out some cardboard and get creating!
Until then Stay Inky

Saturday 16 April 2011

Easter Blessings by Alison Hall

Hello Stampers! As Easter is just around the corner, I thought I'd share an Easter card with you this time.


Cut out a simple cross shape. The grid lines on the Tim Holtz Design ruler make this very easy to do. Ink the cross with wild honey, rusty hinge & barn door distress inks, stamp the punk plaid background with barn door DI, then ink the edges with vintage photo DI.

Stamp the roses from the new Botanical 3 plate, one large & two small, colour them with the distress inks, then cut them out.

Create your greeting, using the mini scrabble tiles from the Scrabble & Tags plate, then colour with the distress inks & cut them out.

For the background, simply colour a square of card with mustard seed distress ink, stamp the gingham background with the same ink, then ink the edges with vintage photo DI.

Glue all the pieces in place on the background, raising the large rose & one of the small ones up with foam pads. Finally, mount onto a square kraft coloured card blank.

If you have a few Easter cards to make, you can vary the colour of your background. Here, I used broken china distress ink for the background of another card.


Thanks for looking!
Alison xx

Thursday 14 April 2011

TISSUE BOX by Kat Fullman

Hello to all,
Kat here AKA Kats craft creations
with my second project of the month, I would like to show you a tissue box today, this project is a nice thing to give as a little gift if someone is under the weather to cheer them up.


You can either buy a tissue box, take it apart & make a template
(by drawing around it & cut it 2mm larger on all sides
{leave off the bottom}
so it will slip over the top of another tissue box)
you can then keep it & always have a template ready to use,
or you can paint directly onto a tissue box
with acrylic paint & go from there.
I used a template.

Here's what I used for mine,
from my stash I used,
2 A4 sheets of brown card (for the tissue box base)
stuck together with wet glue,


3 A4 sheets of white card
(cut 4 pieces for the 4 sides,
then cut them into stamp able sized pieces as shown above,
also cut a piece of white card for the top of the tissue box
(to cut the hole out lay the base upside down onto the white card
& drew the oval through the hole & cut out with a craft knife)
TIP if you number the pieces in a top corner
on the back you will know which way round they go
because it's easy to stamp one upside down
(speaking from experience lol)


I used the Artistic Stamper backgrounds as pictured above &


All the images are stamped with Coffee archival ink


Next I blended Distress Inks Bundled Sage & Brushed Corduroy
on alternate pieces, & then edged all the pieces with Walnut Stain,
(So sorry the picture was deleted by accident)

Next I stuck the pieces onto copy paper in the right order
to get them back to 4 solid pieces,
(I edged them with the Walnut Stain so I didn't have any white edges)
Then I glued them to the base as pictured below,


On some left over scraps of white card
I stamped some Butterflies & Dragonflies,
coloured with Bundled Sage,
then embossed them with a clear powder
& attached them with silicone glue to the tissue box.

Here's a couple of close ups,


So once you have your template its an easy project to complete.
with limited stash.
Hope you like it!
I would love to read your comments
thank you Jennie & Hels again, for letting me guest design this month
I am having a ball.

I will leave you with one last picture
(I took it so I may as well use it)LOL


Thanks again,
Have a crafty day!
Kat x.


Tuesday 12 April 2011

And The Winner Is...

Goodly Morning Stampers! Today is the day for drawing a winner for my latest ATC giveaway. I had a phenomenal 85 comments... thank you folks, that made me smile big! Here's a snippet piccie of the ATC...


So, I used Mr Random.org (and one I day I will learn how to get a picture of the thingy so you can see the numbers...) and the number chosen was #67... which belongs to a comment left by...


Barb Cady


Thanks once again for all your lovely comments... TTFN

Hels x

Monday 11 April 2011

Dance to the Music of Time - by Sioux Jenneys

Hiya! What a whirlwind few days I've had and today?....wow! It's the release of my first stamps for The Artistic Stamper at the web shop ;)

It's Sioux here if you hadn't guessed already and I'm here to share a tag using the stamps:)


1. Spray Distress re-inker inks from a mini mister in fired brick and broken china onto the tag and keep drying and inking with the sprayed remains on your craft sheet till you like what you've got :)
2. Do you remember the fabby magical technique Jennie shared with us the other week?
I stamped the old fashioned music background from Music plate #011 (Mmmmmm.....nice! Yes?) in black Archival and pounced a bit of perfect pearls powder heirloom gold onto the ink.....wiped off the excess and behold a lovely shimmeriness just where the ink is! Magic ;)
3. Stamp the large dancer silhouette and the two words in black Versafine.
4. Stamp the dancer dictionary background onto some card....over stamp with the outline wing and cut out...then stamp the faux stencil word dance in black and triple emboss with clear embossing powder. Attach with silicone glue along with the wing.

Ooh! So much easier than when I made my original winning canvas and had to cut all the letters out by hand!
5. Add some swirls of your choice to the top and bottom corners in Distress walnut stain.
6. Stamp the separate bodice onto some T!m paper stack Lost and Found and cut out......gently shape and attach with silicone glue for a bit of dimension.

7. Add a bit more paper stash to the top and bottom corners.....mat and layer the sentiment.

8. Add three brads.........some plain twill tape stamped with the music background using Staz-on and layer the tag onto some black card.


If you would like the chance to own my tag then just leave a comment and I'll pick the winner using Mr Random the next time I post.  See you then!

That was definitely fun making that and now I can't wait to see what you are inspired to make using the set :)

Keeeeep Stamping!
xoxo Sioux

Sunday 10 April 2011

Want Some Candy???

Step right this way!!! Goodly morning Stampers and a very happy Sunday to you all. Today the Sunday Stamper challenge is being sponsored by The Artistic Stamper and there is some lovely candy up for grabs for one randomly chosen entrant. The candy is two sets (chosen by the winner) of the new releases of stamps this weekend... plus the Kling On to mount them onto.


All of the deets are HERE and being in with a chance to win some Candy is simples... just leave a comment here... and if you do join in with the challenge, leave a comment and a link over on the Sunday Stamper post and you will be entered twice. Thanks for looking! TTFN

Hels x

Saturday 9 April 2011

Buttons Galore by Alison Hall

Hello Stampers! I made a fun little tag for my first post this month. Hope you like it!

Here's how I made it.....

1. Cover a manilla tag with broken china distress stains, then stamp the buttons from the Dressmaking 1 plate all over, using coffee archival ink. Brush a thin layer of gesso over this, distress the edges with the paper distresser, then ink the edges with walnut stain distress ink. Stamp the safety pins around the edge using black archival ink.

2. Stamp the three different sizes of buttons on a post-it note, then cut them out to create masks. I did two of each. On a piece of white card, stamp lots of the different sized buttons, masking them as you go, until you have enough to fill the empty Inspiration Jar. Stamp & emboss the jar over the top of the buttons, then cut it out & colour it with various distress inks.

3. Create your text with alphabet stamps from the Scrabble & Tags plate, tear the words out & ink them with distress inks.

4. Glue the jar & text to your tag, then embellish with sari ribbon, a safety pin, & buttons.